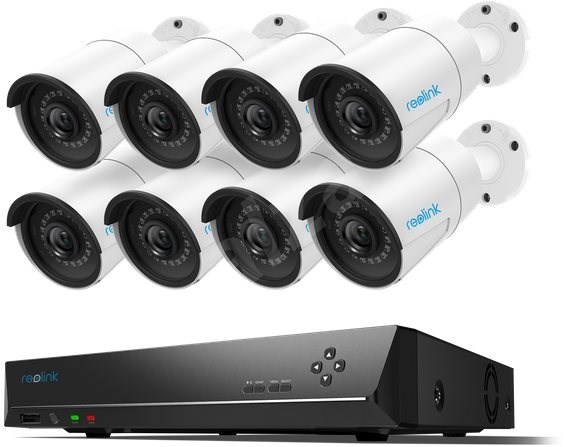

In our latest blog post, we take a look at IP camera-based systems, both from a legal and technical perspective. Cameras are important tools for protecting your home. When the alarm system sounds, it's reassuring to be able to look at the area in real time to make sure everything is okay. However, cameras can be useful not only in case of alarms! When we are away, it is definitely useful to be able to check on the security of our home.
The installation of a camera system is influenced by many criteria. The design of camera positions requires careful planning, as it is most advantageous to use PoE (Power-over-Ethernet) cameras, which can handle both power supply and data transmission via UTP cable. In our modern world, data is considered sensitive information, especially personal information, such as camera images. In order for our installed system to be GDPR compliant, it is recommended to discuss the topic with a lawyer. In the following paragraph, we have tried to collect the legal points that are worth considering, but regardless, it is always recommended to consult with a lawyer or a specialist.
The legal background
In the case of private customers, the PTK and GDPR apply to the installation of the camera system. This means that everyone can place surveillance devices on their own property, provided that the following conditions are met:
- The monitored area cannot be a property owned by someone else or a part of it. (So the camera cannot see the neighbor's house.)
- The monitored area cannot be a public space. (So the camera cannot see the public space in front of the house either.)
- The entrance must be marked as a camera-monitored area. (This also has a deterrent effect.)
If the above conditions cannot be met when setting up the camera, they must be masked. For this reason, it is of utmost importance to plan the exact location of the cameras and the area they monitor. When determining the position of the cameras, it is also important to pay attention to sabotage protection, which means that the cameras are placed so that they can see each other, thus protecting them from sabotage. It is important to note that the camera can see an area even if it does so through a fence.
In the case of a condominium client, the legal background is complicated, as the approval of 2/3 of the owners is required, and the property must have a data protection statement approved by its own SZMSZ, which is the responsibility of the client. In the case of condominiums, in addition to the conditions already mentioned, there are a few additional restrictions:
- The monitoring system must be managed by an external company that has the appropriate official permits.
- The installation of the surveillance system must be reported to the police.
- The common representative of the condominium can access the camera image with special permission, but the residents cannot. In the event of an alarm or crime, the management company immediately sends the images to the authorities.
A special official permit is not required to install a camera system, but it is required to monitor it. Summarizing the points mentioned above, we can conclude that it is relatively easy to set up a surveillance system in your own home. What's more, it is highly recommended, even if it is not connected to the alarm system, it only has a supplementary and "deterrent" role. However, connecting it to apartment buildings is a much more serious investment, with more serious legal consequences.
Let's get started with the installation!
In the case of our client, we were involved in the design phase, so the stands for the 8 cameras were already designed with the necessary cable channels when the walls were erected. Since we chose PoE (Power over Ethernet) cameras, it is sufficient to run only one UTP cable to the camera stands, as both the power supply and data traffic are handled through it. In the case of a PoE solution for 8 cameras, it is highly recommended to connect a PoE-capable NVR (Network Video Recorder) to a central location, as all cameras will receive their power from this and will also send the image here.
IP cameras, like any other digital device, can be used to block the Danube. In Hungary, the most common are probably HIK Vision cameras, which are of excellent quality, but in this case, due to the price-performance ratio, we decided on Reolink. Due to the technical criteria mentioned above, we chose an 8-channel NVR (can handle 8 cameras at the same time) and compatible tube cameras:
- Reolink RLN8-410 – NVR
- Reolink RLC-410 – 8 PoE IP Cameras
The biggest challenge was determining how to mount the cameras, as the house also had 10 cm thick insulation, which is not recommended for mounting cameras. To solve this, we used a cylindrical junction box that can be customized for insulation, which can be mounted on the wall and is not a problem in terms of insulation. We can mount the cameras on this plastic half. Unfortunately, the boxes were not installed by us, but by the insulation brigade, and they cut slightly larger circular holes, so mounting the cameras was not without problems. We went to the house when the actual installation and connection was coming up. A prerequisite for this is that the appropriate cables (UTP) are pulled into each outlet. The UTPs were then crimped - it is important to choose the same type of connection everywhere! Type A – the so-called „straight-forward” – is usually the type of device that is connected, and type B – the so-called „cross-over” – is needed when you want to connect two devices directly without an intermediate stop (hub, switch, router). However, it is important to note that whichever one you choose, you crimp both ends of the cable the same way. Crimping can be time-consuming if your tools are not suitable.
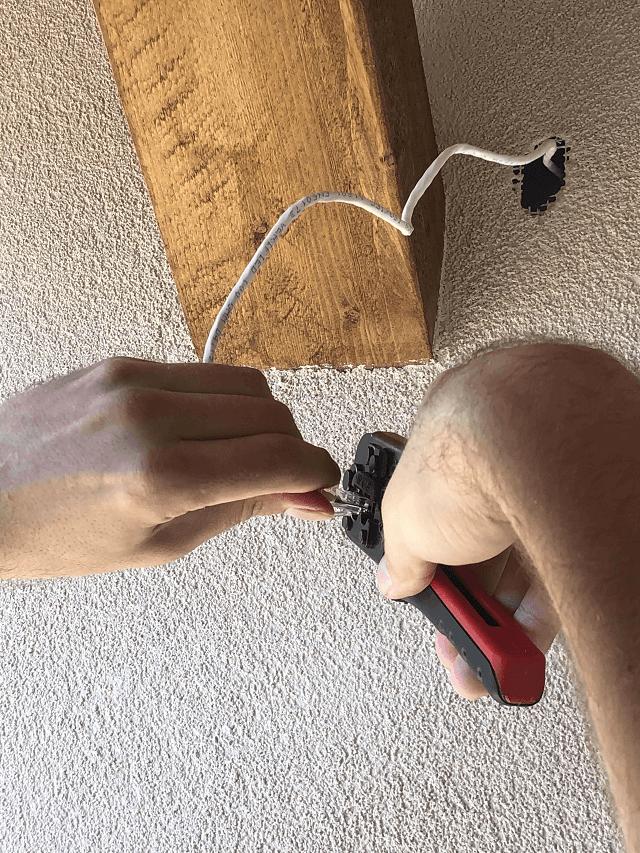
After we crimped the UTP ends at all 8 exits and inside the server room, the cameras could be mounted. There were some that were easy to install, as they could be reached from a small ladder, but it's not always that easy...
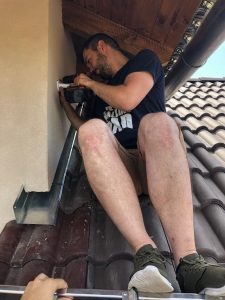
After all the cameras have been properly positioned so that they can be seen from a distance, the next big moment is when it becomes clear whether the crimps were really successful. After crimping, you can usually quickly check with a UTP cable tester whether everything is OK. In this case, we forgot this, so we took a deep breath and risked it, put everything back together and prepared for the worst: removing the camera and crimping again at the faulty wires… We connected the NVR for the test run, and also set up a temporary router so that we could look at the camera images live.
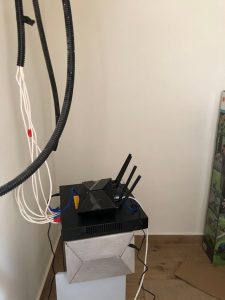
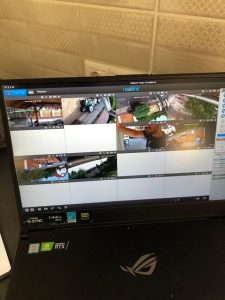
Fortunately, all camera images appeared. One or two were upside down, but this was easily fixed both through the application and by moving the cameras. Once everything is working properly, the next step is to fine-tune the camera images according to legal requirements.
The cameras are installed, the NVR and the rest of the network are housed in a nice rack cabinet after the installation is complete. In a future blog post, we will add it to the Yabune Home central system based on Home Assistant. It is important to always have a network tester with us! A cheap tester is also good..
We hope you found our description useful.
Hello,
The Yabune Home Team.